
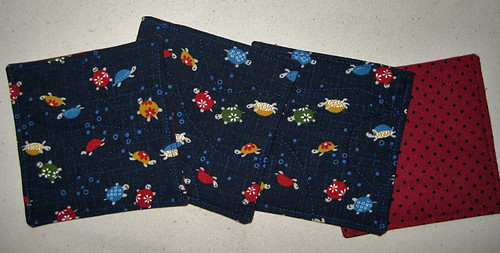
Not my best photo, but the winter isn't giving me much light to work with!
I just finished some little turtle coasters. My first coasters ever. It was hard to part with even the tiny squares of my turtle fabric. I just love that print. I don't know who makes it, but you can find it at several places that carry Japanese import fabrics. I chose a plain patterned back side so that I could quilt meandering lines between the turtles on the front. If there were turtles on both sides, one side would have had quilting through the turtle's bodies and I didn't want that.
How I made them...
- I cut 4.5" squares out of my front and back fabrics. (I made two sets of coasters, four coasters in each finished set. So I cut out 8 fronts and 8 backs.)
- I cut eight 4" squares of cotton batting that I had preshrunk. I also clipped the corners off of them so they would fit nice inside the coasters.
- I stitched around the coasters with a 1/4" seam allowance, leaving about a 3" opening in the middle of one of the sides. I then turned them right side out through the opening.
- I employed my husband to stuff the piece of batting into the coaster. =) =) Then we pressed them flat with the iron. (If you read the post on Peggy's Place Mats, you will know that Ben is an expert place mat stuffer as well...)
- I folded the edges of the opening to the inside and stitched around the coasters (probably about 1/8" from the edge), closing up the open side in the process.
- Then, I sewed meandering lines between the turtles to quilt the coasters and hold the batting in place. I was careful not to stitch over border I already sewed in step #3 to keep them looking nice.
- That's it, they're ready to give to a good home!

No comments:
Post a Comment
Thanks for sharing your thoughts!